It’s a good idea to physically clean your MacBook Air, which makes it more attractive to buyers; but more importantly, you need to protect your private data, credit cards, personal photos, and account information by erasing your MacBook Air data before you sell. Use these quick steps to wipe your MacBook Air.
STEP 1: Make a backup of your MacBook Air
You can back up your MacBook Air with Time Machine backup, iCloud backup, by transferring files to an external drive, or by using Migration Assistant to transfer files and settings to a new Mac. NOTE: You should always make sure your backup was successful before taking the next step!Time Machine backup Connect your external storage and set up Time Machine, then use the menu to select “Backup Now.” Once your backup completes, connect your external storage to a new Mac to transfer your files. You can select which files to transfer, or conduct an entire system restore. iCloud backup Once you set up iCloud, it will automatically sync and create a backup for your MacBook Air. All that’s left to do is sync your files to your new Mac to complete the transfer. Transfer files to another device Connect an external hard drive or your new MacBook, then use the Finder to locate and move your files. Note that you cannot restore your entire system with this method �” you can only move files. Migration Assistant Pair your old MacBook Air to your new MacBook via cable or WiFi, then use Migration Assistant to transfer settings, apps, accounts, and files. To get started, open Migration Assistant and follow the prompts. NOTE: if you have macOS Sierra or later, both computers must be near each other with WiFi turned on. If you have OS X El Capitan or earlier, both computers must be connected to the same WiFi network.
STEP 2: Log out of Apple services
Prevent future users from accessing your data by signing out of all Apple services on your MacBook Air.
· How to sign out of iCloud · How to sign out of iMessage · How to sign out of iTune
Looking to sell your iPhone as well? Find cash offers from Trust Verified stores here:
STEP 3: Erase MacBook Air data
Reformat your hard drive and reinstall macOS.
1. Restart your MacBook Air, then launch Recovery Mode by pressing and holding CMD + R
2. Select Disk Utility
3. Select your startup disk and click Erase
4. Erase using Mac OS Extended (Journaled) format
5. Select Disk Utility, click Quit Disk Utility
STEP 4: Reinstall Mac OS
1. Restart your MacBook Air, then launch Recovery Mode by pressing and holding CMD + R
2. Select Reinstall macOS
3. The operating system will install; when installation is complete, press CMD + Q, then select Shut Down
Flipsy Trust Verified Stores Buying The MacBook Air
The following Trust Verified Stores provide cash quotes for your MacBook Air. Let them know your serial number (found on the back cover), condition and any included items. You’ll get a quote delivered to your inbox in about 24 hours. Be sure to describe your MacBook Air’s condition to get the most accurate price. Some of the stores have winnowers or serial number look ups to find your value but many have incomplete serial number databases, so while they may buy your Mac they won’t show a price. By contacting them with your serial number they can do the look up to provide the most accurate quote.
iPhone won’t turn on? Did it die after an iOS update or does it keep restarting? The good news is that, in many cases, you can turn your iPhone back on in a few simple steps. Here are five reasons why your iPhone won’t turn on, how to fix it and what it costs. Jump […]
Worried your phone might have a virus? It’s a valid concern, as Kaspersky detected nearly 3.5 million malicious installation packages in 2021 and found that mobile malware continues to get more sophisticated – and more dangerous. Viruses are something you should be aware of, not scared of, and you can protect yourself with some simple […]
WiFi not working on your iPhone? You can resolve most WiFi woes in a few steps, whether your iPhone keeps disconnecting from the network, doesn’t get Internet or can’t establish a connection. Here’s what to do if your iPhone won’t connect to WiFi. Jump to: Restart your iPhone | Toggle WiFi off and on | […]
 Flipsy Trust Verified Stores Buying The MacBook Air
 Flipsy Trust Verified Stores Buying The MacBook Air
 GadgetPickup
 iPhone Won’t Turn On? Here’s Why & How to Fix It
  How to Know If Your Phone Has a Virus & How to Remove It
 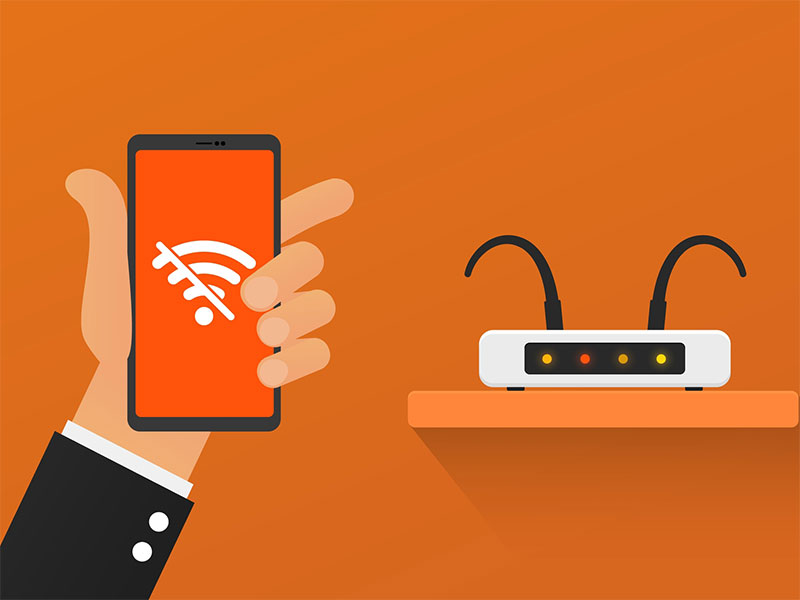 iPhone Won’t Connect to WiFi? Here’s How to Fix It
  Why Your Phone is Slow & How to Speed It Up
 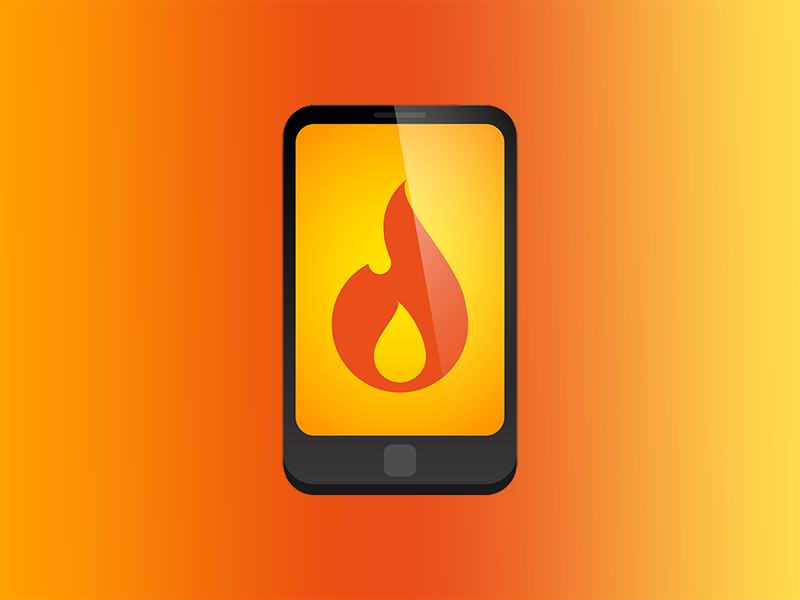 What Is a Burner Phone & When Should You Use One?
  iPhone Water Damage Repair: 3 Options & What They Cost